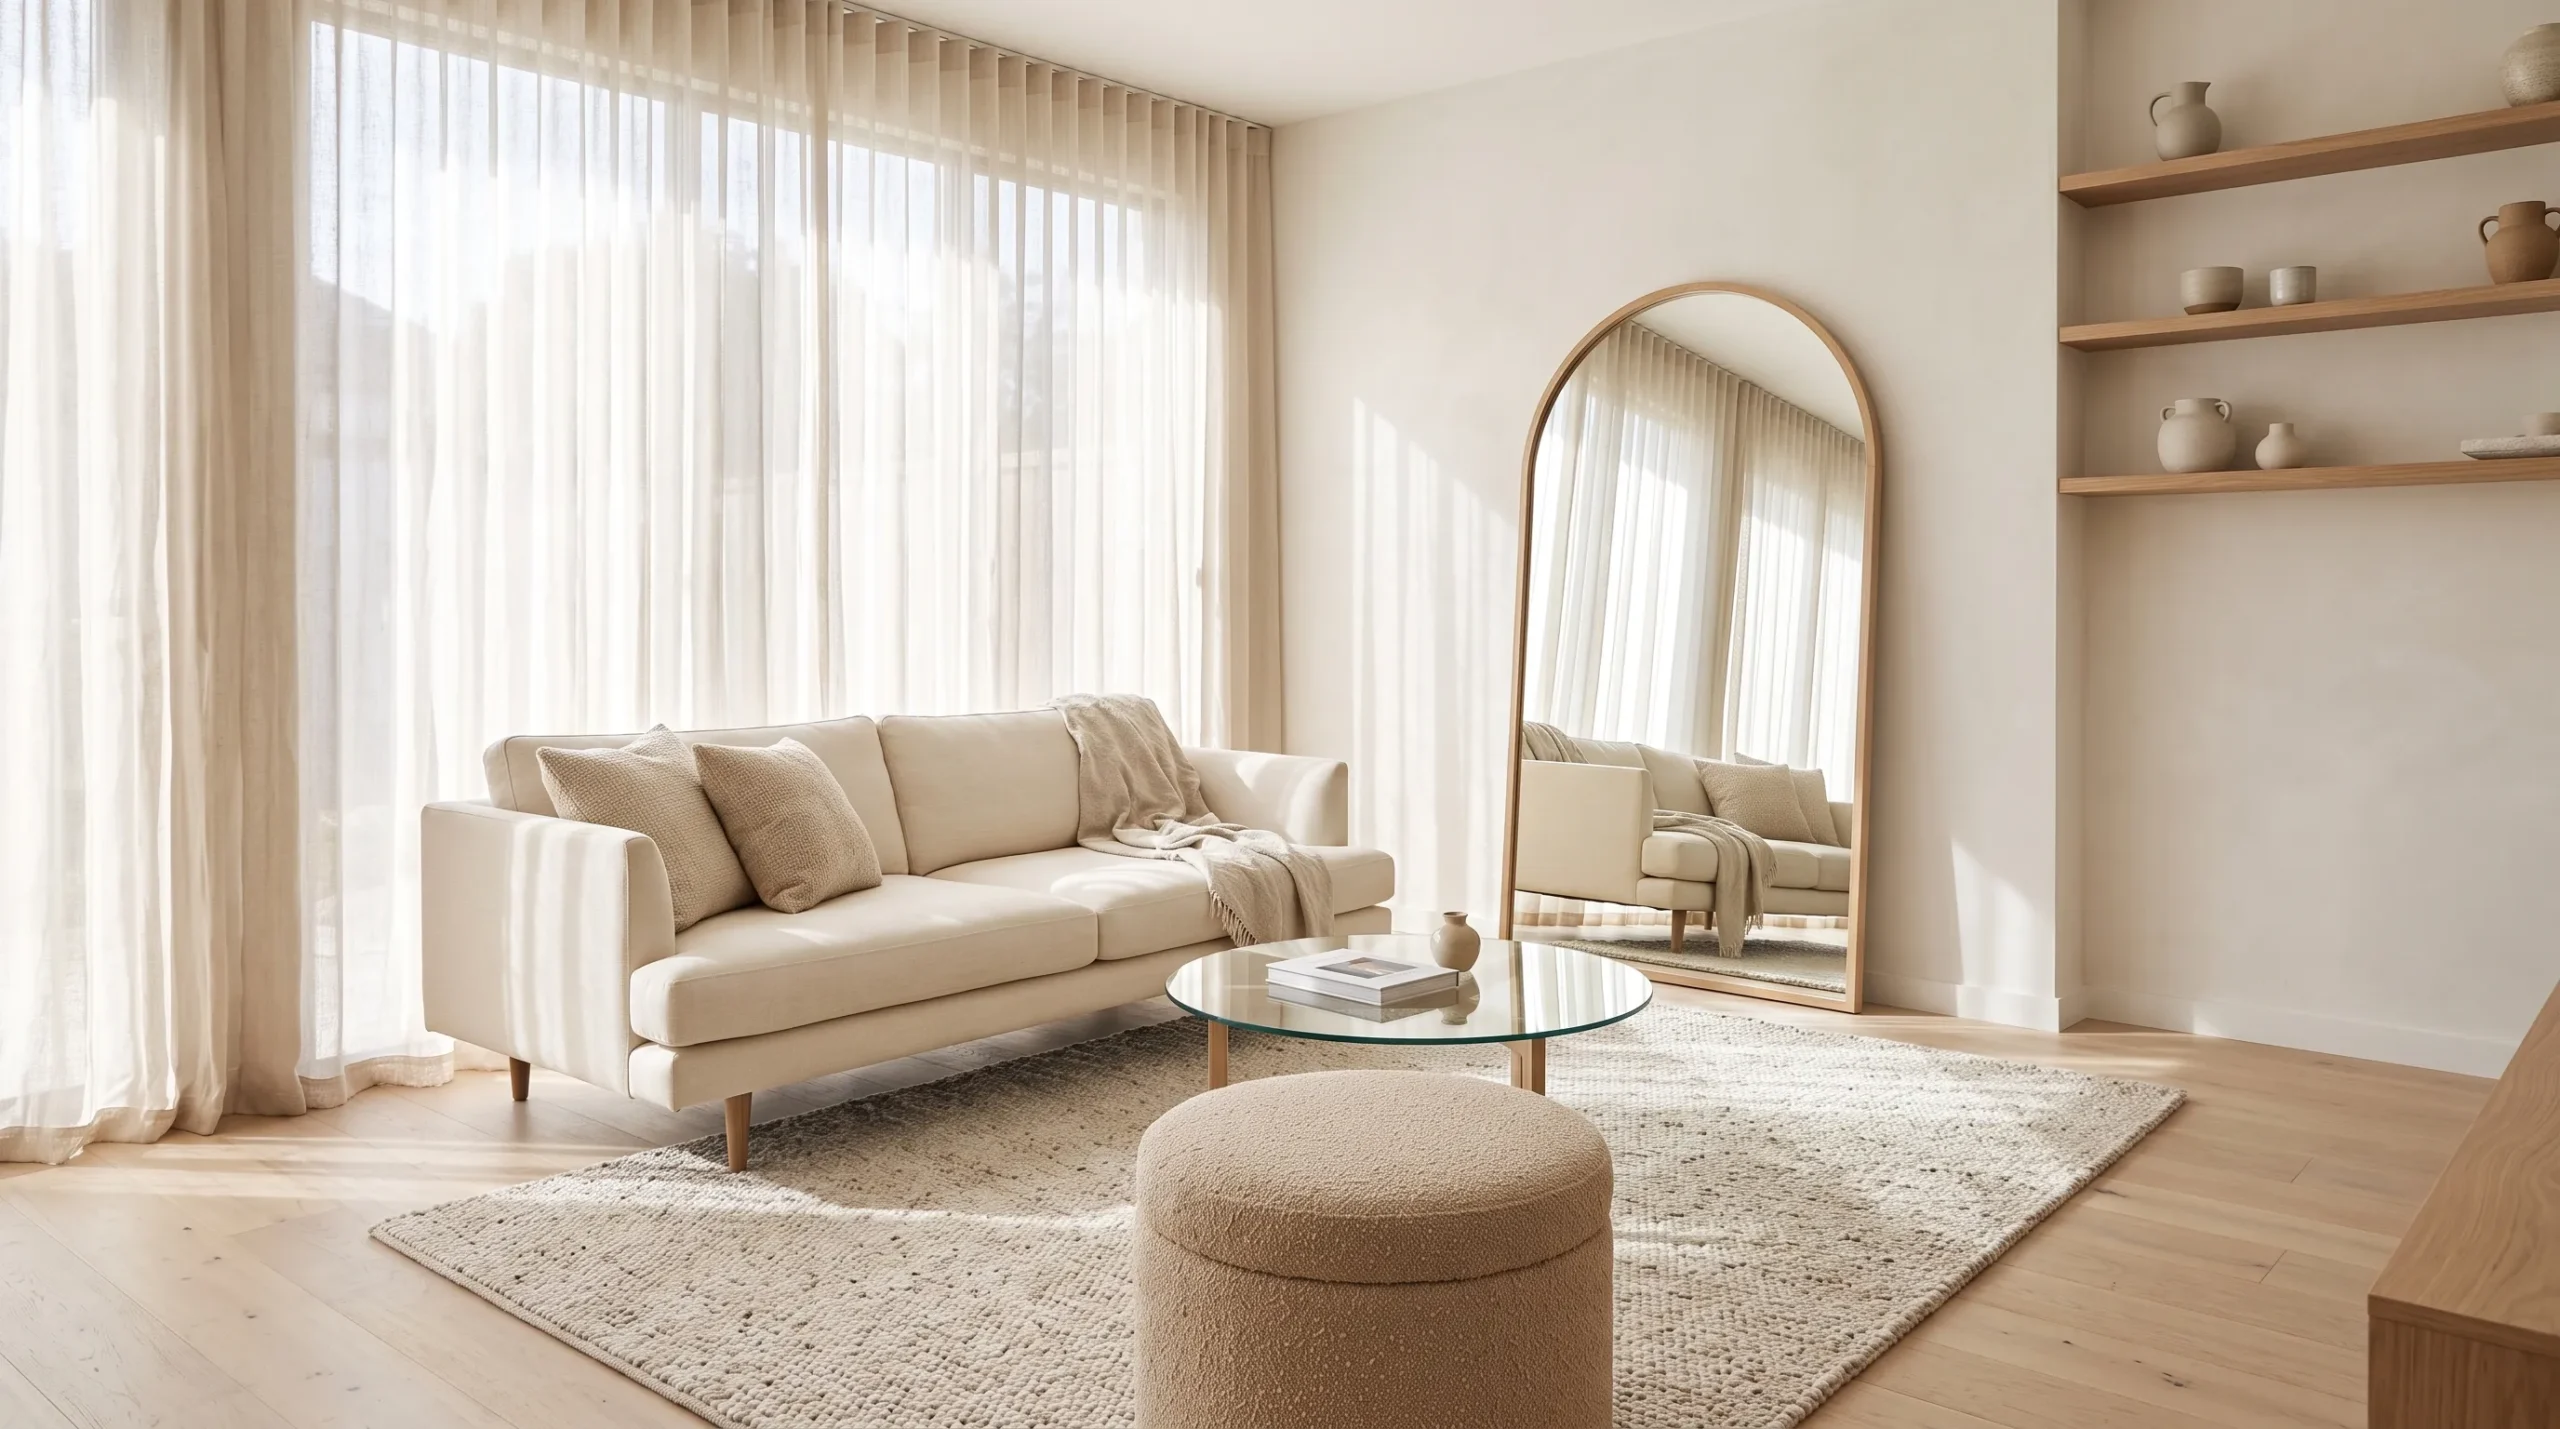
8 Brilliant Small Living Room Ideas to Instantly Open Up Space
Walking into a compact sitting room should feel inviting and restful, never cramped or confined. If your current layout feels restricted or dark, using smart small living room ideas can completely transform how your home looks and functions every day. You do not need massive square footage or expensive renovations to achieve a bright, open atmosphere.
In my experience, small spaces feel tight not because of their footprint, but because heavy furnishings and blocked sightlines trap light. By raising furniture silhouettes on slender legs, hanging drapery high, and utilizing low-contrast palettes, you will quickly open up your layout and make every square foot feel purposeful, spacious, and comfortable.
Why Compact Living Areas Feel Constricted
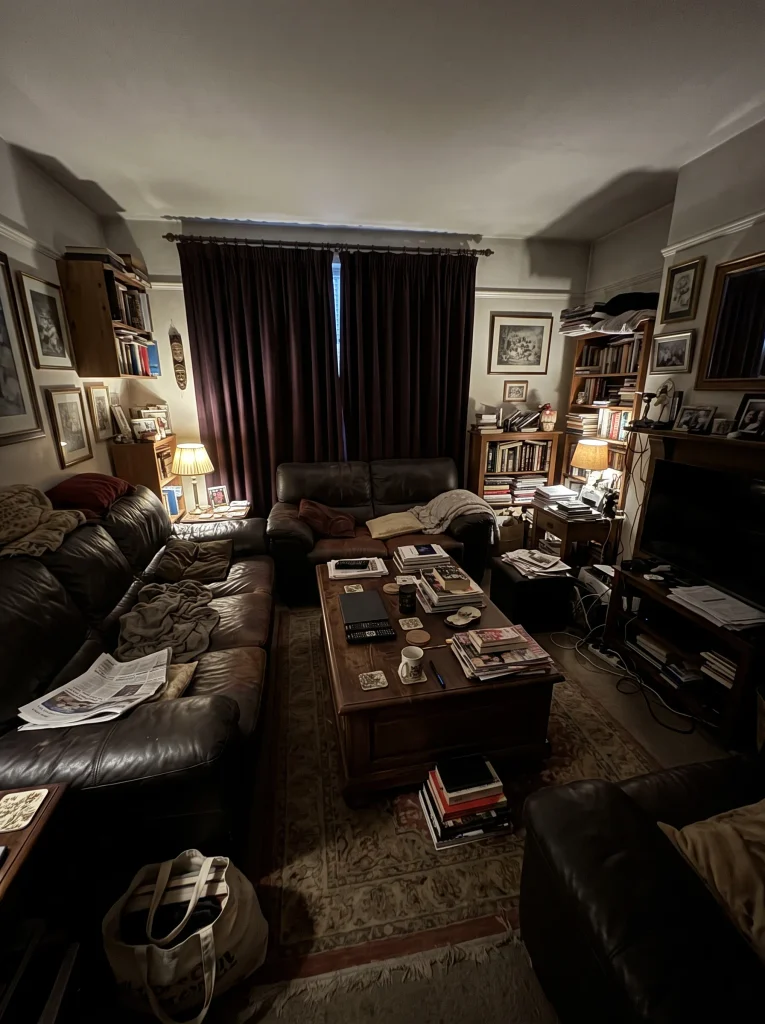
Compact spaces feel tight when heavy, skirted furniture blocks natural light paths across the floor. Bulky dark seating pieces, tiny floating mats, and cluttered windows create solid visual walls, making a small floor plan feel noticeably closed in and uncomfortable for everyday living.
In my experience, square footage is rarely the real issue; the culprit is often heavy visual weight that stops the eye from traveling. Implementing practical small living room ideas restores natural flow, helping you replace heavy visual barriers with expansive breathing room from corner to corner.
Step 1: Choose Leggy and Raised Furniture Silhouettes
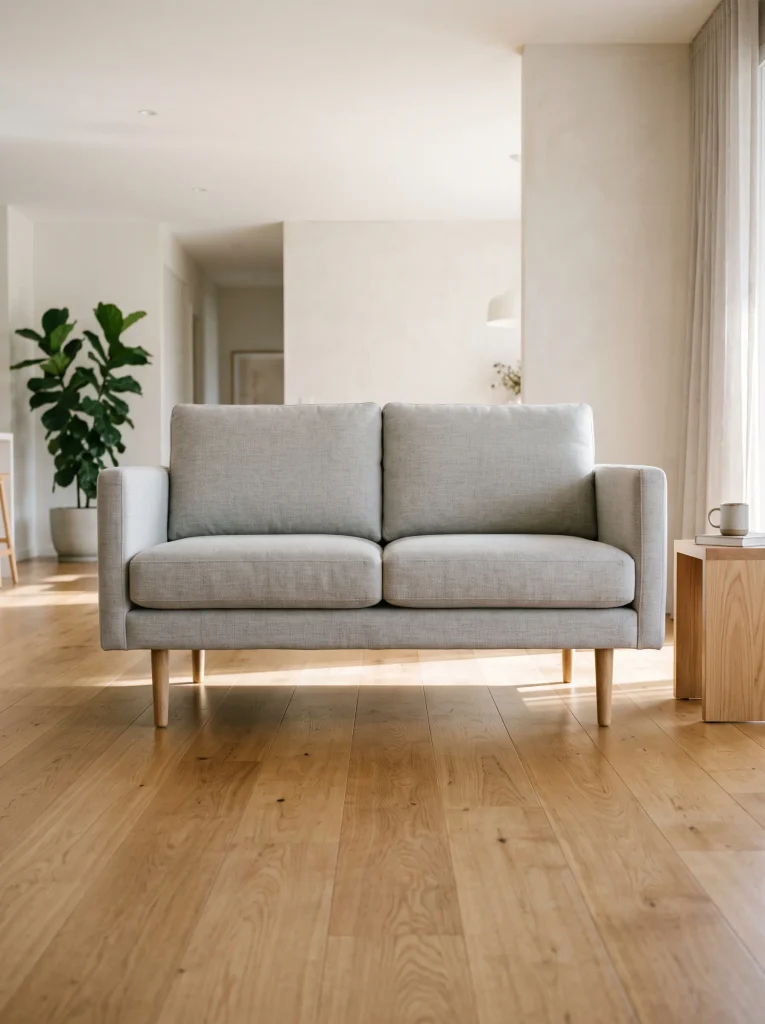
Solid, boxy sofas that sit directly on the floor act like solid visual dividers, shrinking your visible floor footprint instantly. Raising your main seating on slender legs allows light and line of sight to travel underneath, which tricks the eye into perceiving a much broader footprint.
- Replace heavy, skirted sectionals with streamlined sofas featuring tapered wooden or metal legs.
- Choose open-frame armchairs with slim arms and elevated bases to preserve sightlines.
- Pick a raised credenza or floating console to keep baseboards fully visible.
- Leave several inches of floor space clear beneath secondary accent tables.
Opening up the area beneath your furniture changes how the room feels right away. When you can see continuous floorboards extending under couches and armchairs, the whole seating area appears lighter, airier, and significantly less restricted.
Step 2: Hang Window Treatments High and Wide
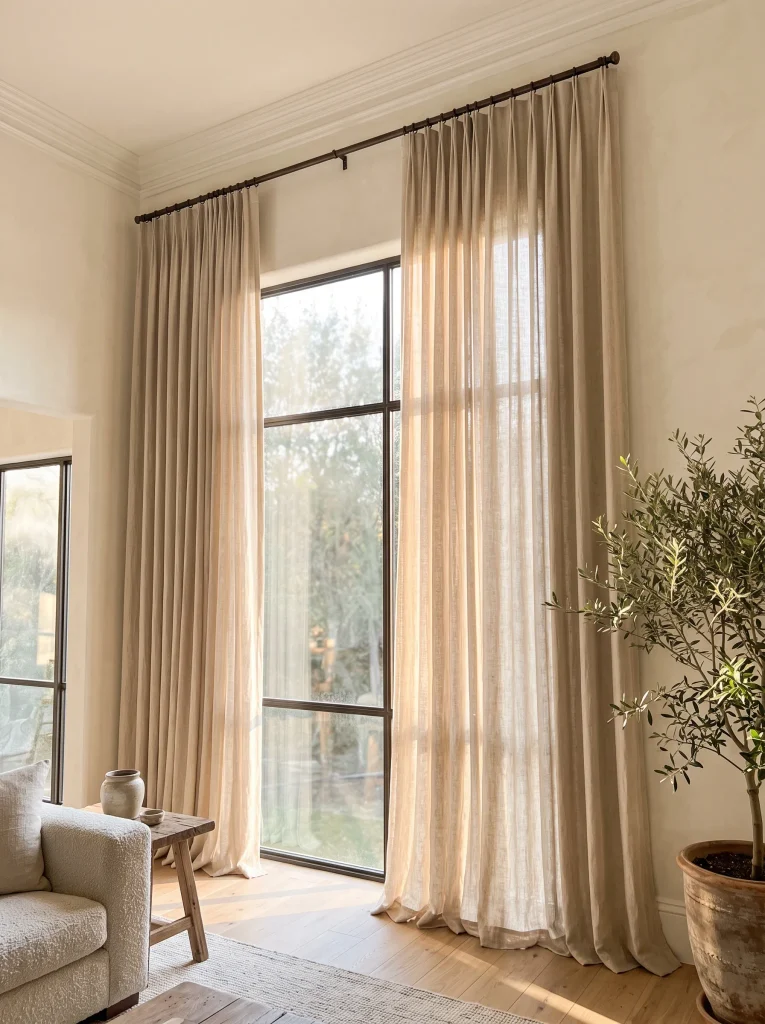
Quick Tip: Mount your drapery rod as close to the ceiling molding as possible and extend it six to ten inches past the window trim on both sides. This simple setup exposes the full glass pane while guiding the eye upward to create taller ceilings.
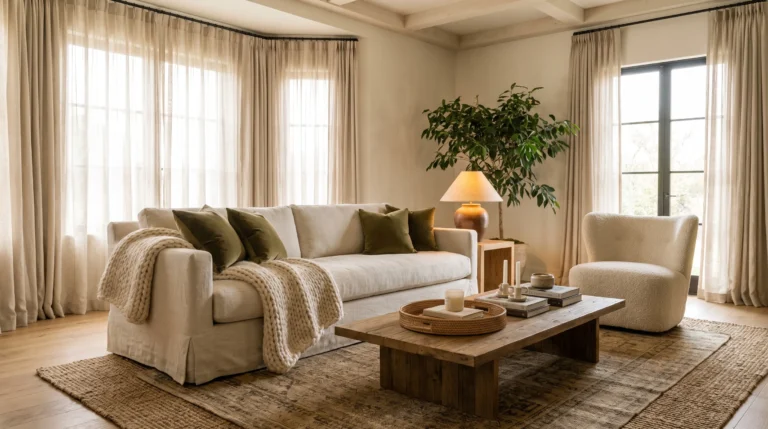
Hanging curtain rods directly above the window frame cuts vertical wall height in half and blocks valuable natural light. Extending rods upward and outward lets natural daylight flood the room, instantly framing the sitting zone with tall, airy lines that make compact living areas feel remarkably expansive.
Step 3: Anchor with an Expansive Area Rug
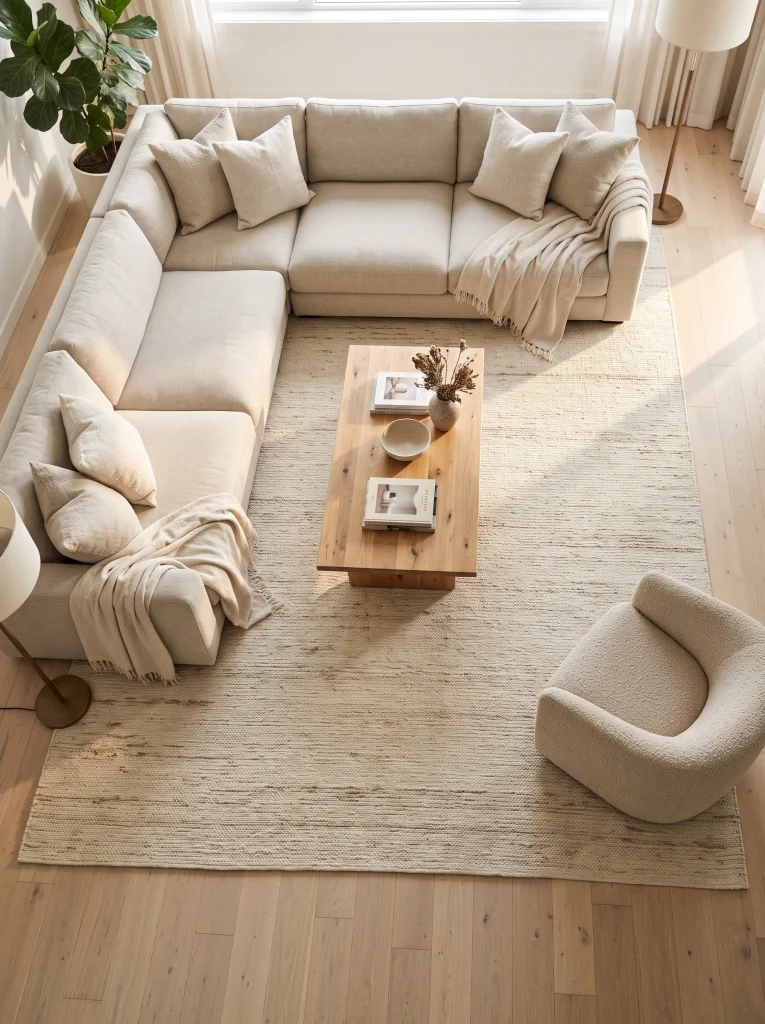
Common Mistake: Many apartment dwellers pick a tiny four-by-six accent rug to match their smaller room footprint. A undersized floor covering floats like a small postage stamp in the middle of the floor, visually chopping the room into disjointed, cramped little islands.
The Fix: Size up to a broad eight-by-ten area rug that comfortably slips under the front feet of every major seating piece. A generous rug pulls individual furniture pieces into one unified layout, stretching perimeter sightlines and making the entire floor feel surprisingly vast.
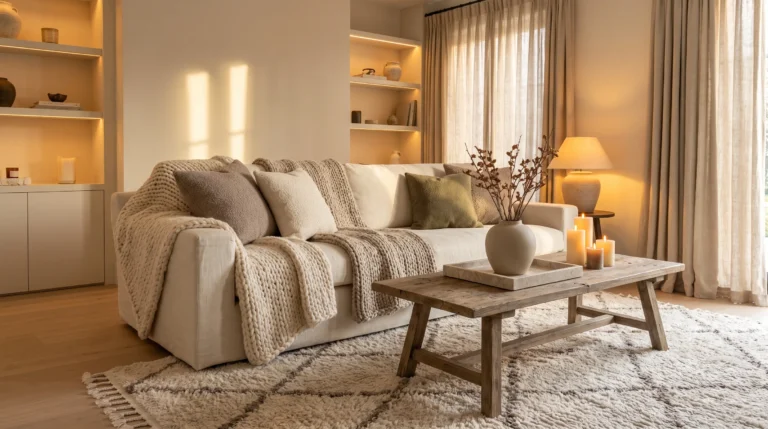
Using one continuous floor textile unites your primary conversation area into a cohesive zone. When the rug spans broadly across the living area, it draws the eye outward to the room boundaries, establishing an open, grounded foundation that makes daily lounging feel generous and comfortable.
Step 4: Position Reflective Mirrors to Bounce Light
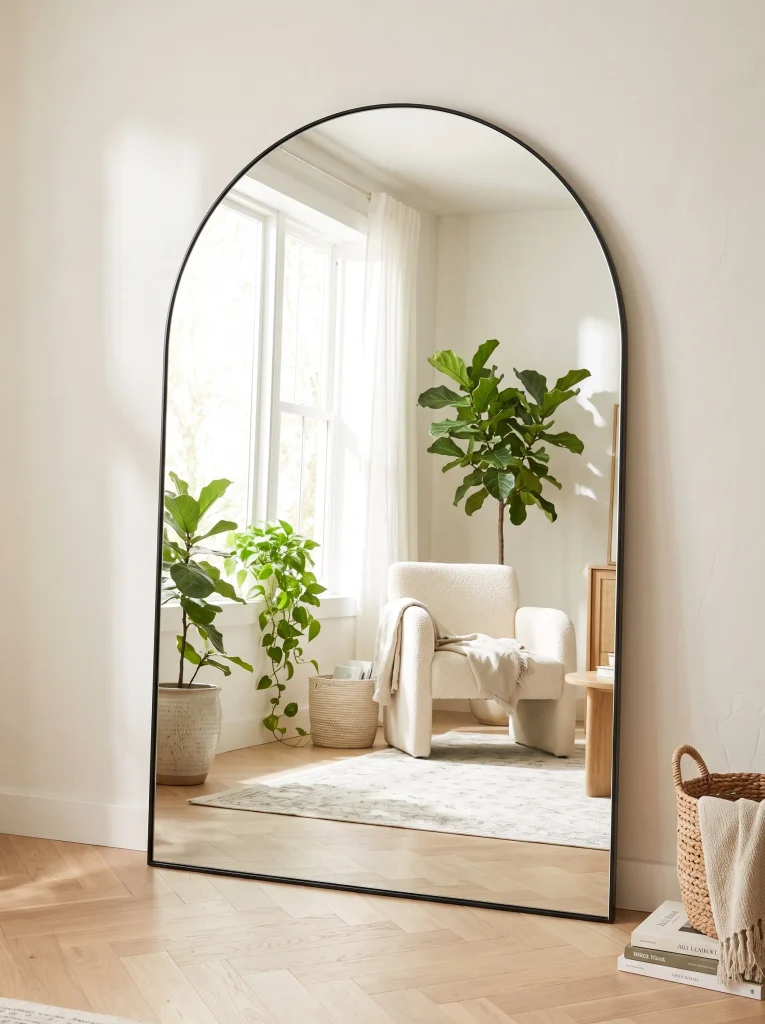
What You Need:
- One oversized floor mirror: A tall arched or rectangular frame creates an immediate illusion of an open architectural doorway.
- A sturdy wall anchor: Safety cleats securely attach heavy glass frames flush against wall drywall.
- Clear light pathways: Unobstructed placement directly across from or adjacent to your largest sunlit window catches incoming rays.
- Minimal frame profile: A slim brass, black iron, or light oak frame keeps visual weight clean and unobtrusive.
Placing a generous mirror where it can catch natural daylight doubles the illumination flowing through your sitting room. The reflective glass bounces daylight into shadowy corners and visually duplicates your square footage, creating a bright, breezy atmosphere that makes compact living quarters feel open and unconfined.
Step 5: Incorporate Transparent Glass or Acrylic Accents

Before: Solid timber or dark chunky stone coffee tables block the central floor, creating an opaque wall right in the middle of your seating layout. The center of the room looks crowded, and walking paths feel tight and blocked off.
After: Introducing a clear tempered glass or acrylic coffee table lets your eye look straight through to the rug and floor below. The central zone opens up completely, providing full functional tabletop utility without consuming an ounce of visual weight.
See-through furnishings are ideal for small living room ideas because they preserve clear floor sightlines. You gain a sturdy spot for books, ceramic mugs, and table decor, while the transparent material keeps your central layout feeling weightless, relaxed, and delightfully spacious.
Step 6: Utilize Vertical Wall Space with Floating Shelves

Do This:
- Mount slim open ledges vertically along narrow wall sections to draw eyes upward.
- Space out decorative pottery pieces to preserve open white space between items.
- Use matching wall hardware so the shelves appear to hover cleanly.
- Anchor wall brackets securely into wall studs for durable everyday support.
Avoid This:
- Crowding ledges with dense stacks of books that create top-heavy visual clutter.
- Hanging shelves directly at head height where they encroach on seated movement.
- Installing bulky, heavy-bracket consoles that consume valuable floor perimeter.
- Spreading shelves haphazardly across every available bare wall surface.
Directing attention toward the upper third of your room emphasizes high ceilings and airy wall dimensions. Narrow floating shelves hold curated greenery and ceramics off the ground, giving your small living room ideas vertical charm without eating up an inch of usable floor space.
Step 7: Adopt a Tonal and Low-Contrast Color Scheme

- Core Palette: Soft cream, biscuit beige, and warm white
- Visual Impact: Blurs physical room boundaries and expands light bounce
- Best Pairing: Varied tactile textures like bouclé, woven linen, and unglazed pottery
- Difficulty: Easy to implement with paint and cushion updates
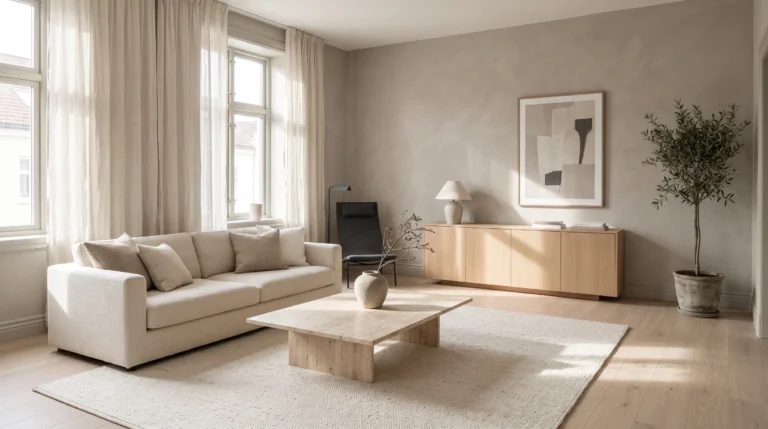
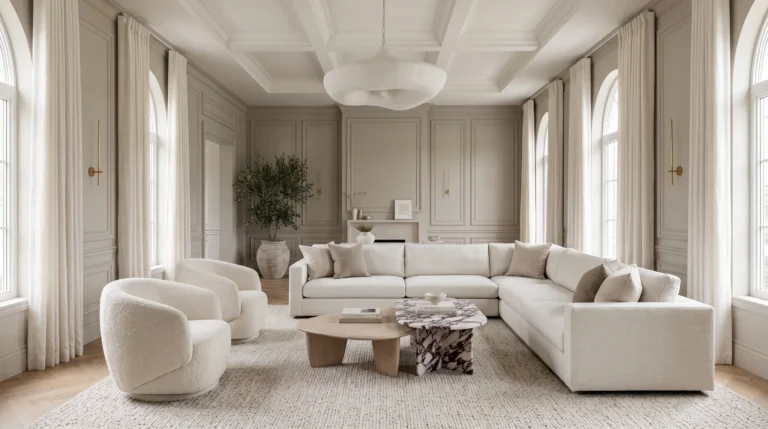
High-contrast color breaks slice a compact room into distinct, segmented patches that feel tight and busy. Blending sofa upholstery, wall paint, and floor textiles within a close tonal family softens perimeter edges, allowing natural light to wash across surfaces seamlessly and making the entire room feel unified, peaceful, and expansive.
Step 8: Invest in Double-Duty Multipurpose Furniture
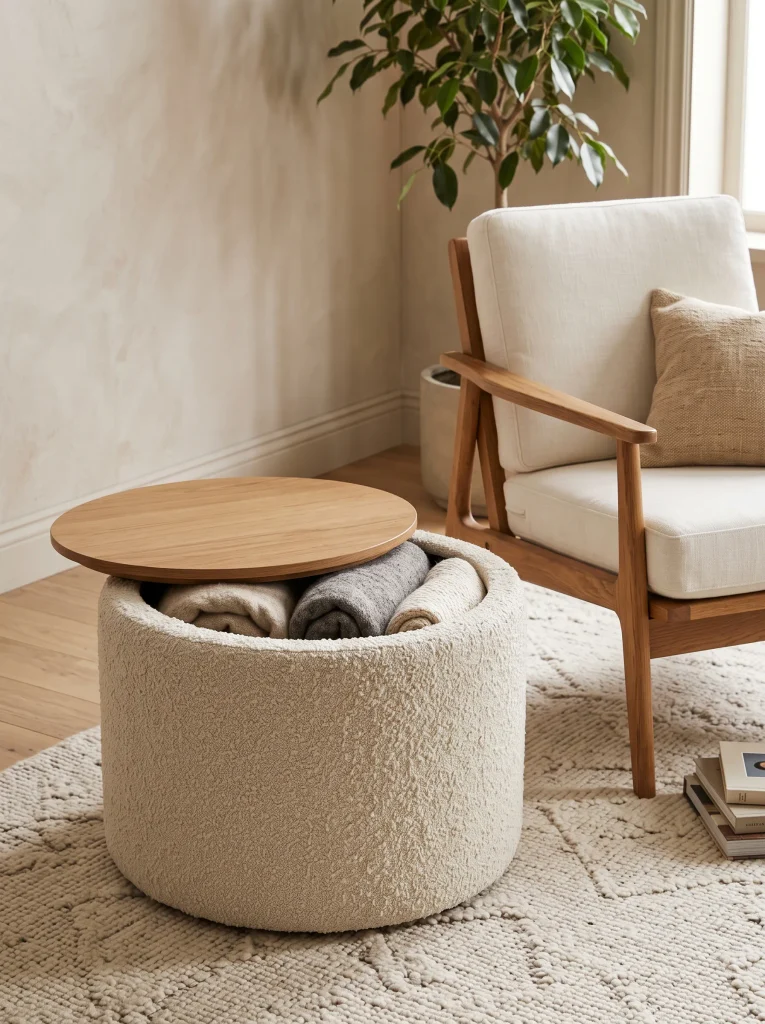
Smart furniture pieces that perform multiple roles keep floor plans clear while providing essential storage. A storage ottoman works as a comfortable footrest, extra party seating, and a hidden bin for throws, eliminating the need for bulky side tables that crowd compact walking corridors.
In my experience, nesting accent tables and storage-equipped benches deliver outstanding flexibility in compact homes. You easily pull out extra surfaces when entertaining guests, then tuck them away cleanly to restore open walking room the moment everyday routines resume.
Common Small-Space Mistakes That Shrink Your Room

The biggest trap in compact decorating is pushing every single piece of furniture flat against the walls. While this instinct feels like it saves square footage, it actually outlines the small perimeter of your room and creates an awkward, empty void in the center that feels disjointed.
I’ve noticed that floating your main couch just a few inches forward allows air and light to circulate around the furniture frame. Giving pieces room to breathe eliminates rigid boxiness, ensuring your small living room ideas result in a natural, welcoming layout that feels remarkably open and effortless to navigate.
Also check this: Living Room Styling Rules
Conclusion
Opening up a compact lounge is all about letting light move freely while maintaining functional, comfortable zones. Implementing practical small living room ideas like large area rugs, strategic mirrors, and multi-duty furnishings helps you maximize every inch without sacrificing warmth. I’ve seen how making this one change can completely shift the result, turning a boxed-in layout into an airy, restful space where you truly enjoy relaxing. Save this guide to your Pinterest decor board for your next weekend project, try out one of these styling steps today, and share this guide with anyone looking to make a small room feel significantly bigger.


One Comment